How to install OpenWrt in Proxmox VE as a VM

Since OpenWrt only offer IMG file for installation, and Proxmox VE only take ISO file. So we have to use the command line to import IMG file into the virtual machine in order to use OpenWrt as a VM in PVE.
Step 1. Preparation
Proxmox VE: you can download from here.
OpenWrt 19.07: Download the x86_64 firmware from here. Download combined-squashfs.img.gz then unzip it to IMG file.
Step 2. Creating the virtual machine
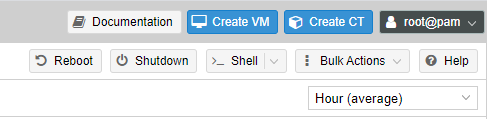
Login to your PVE web interface then click “Create VM” on the top right corner.
Giving your OpenWrt VM a VM ID and the Name you like, click “Advanced” to check “Start at boot”. Then Next.

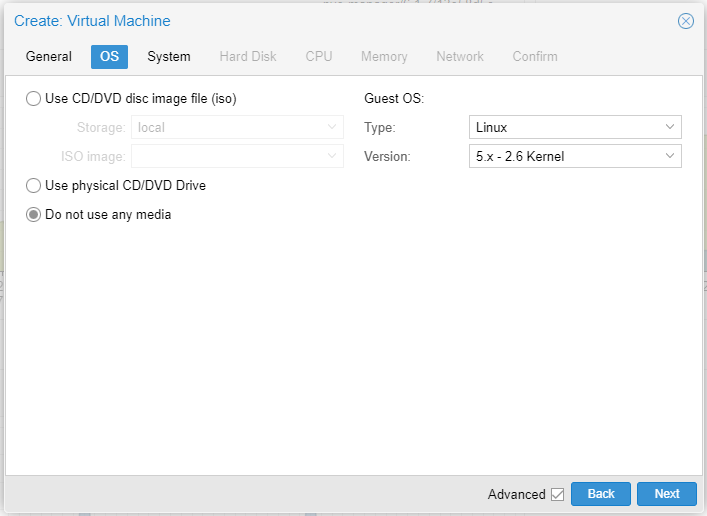
Check “Do not use any media”, then Next.
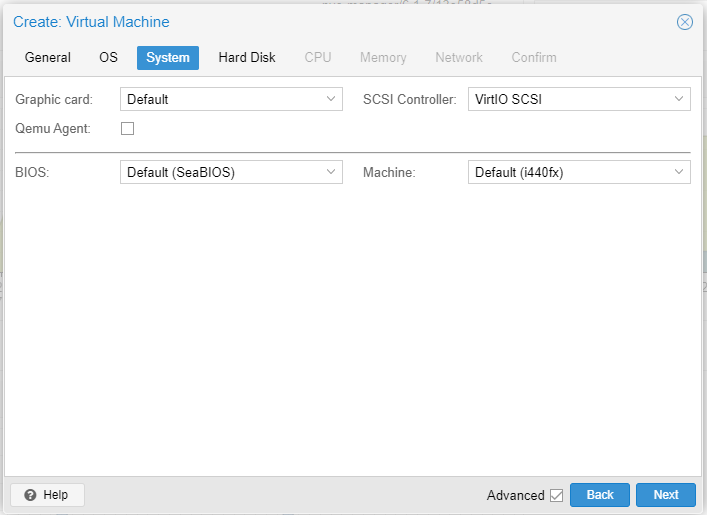
Use the default setting for this page, and just click Next.
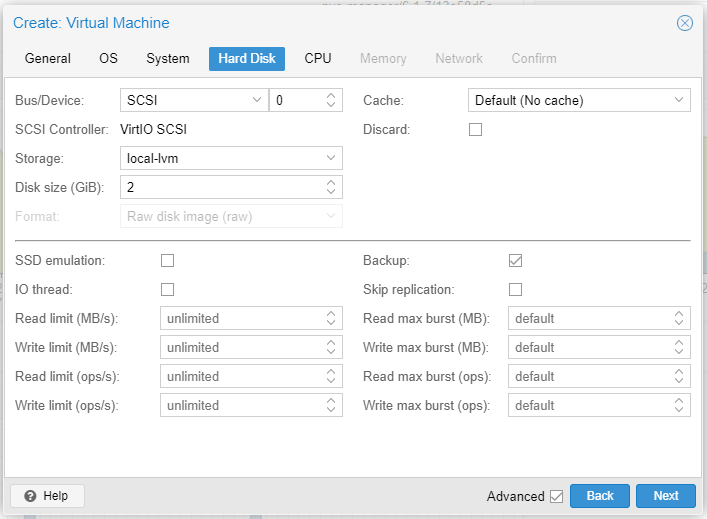
For hard disk settings, just give it a random size or just leave it alone, because we will delete this virtual disk later. Then Next.
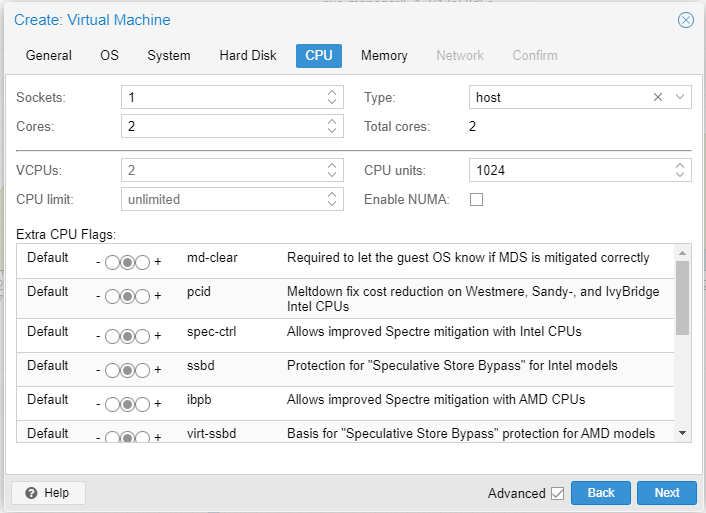
For CPU cores, set it based on your usage, normally 2 or 4 cores are good enough. Remember to change the CPU type to host for the best performance!
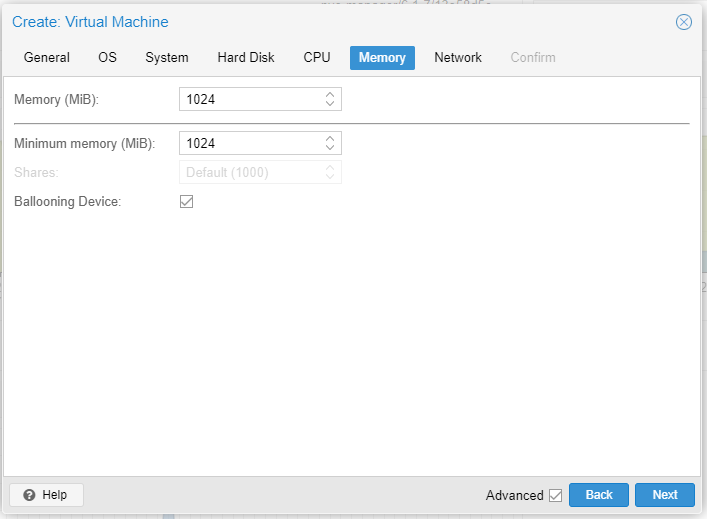
For memory, 1024 MB should be good enough, if you like, you can give as much as ram you want.
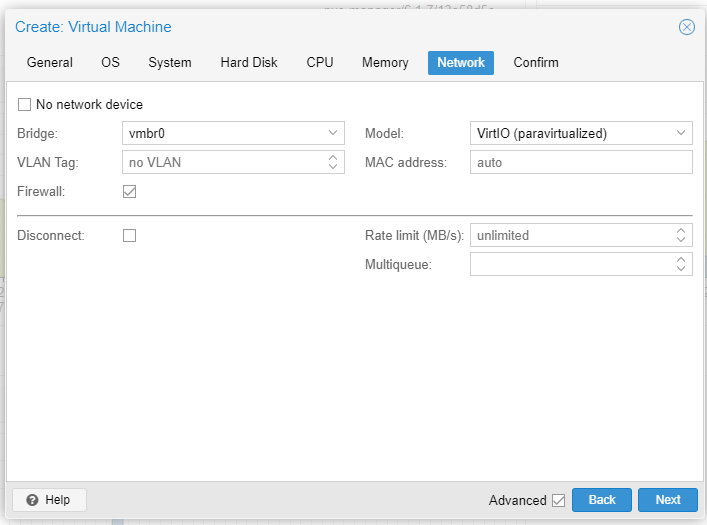
For Network, just leave it alone and click Next.
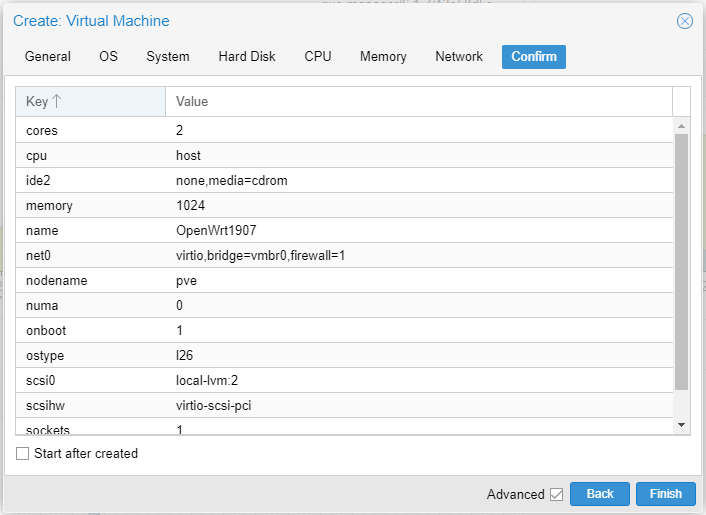
Just click “Finish” to finish it up.
Step 3. Import IMG file and edit the VM hardware
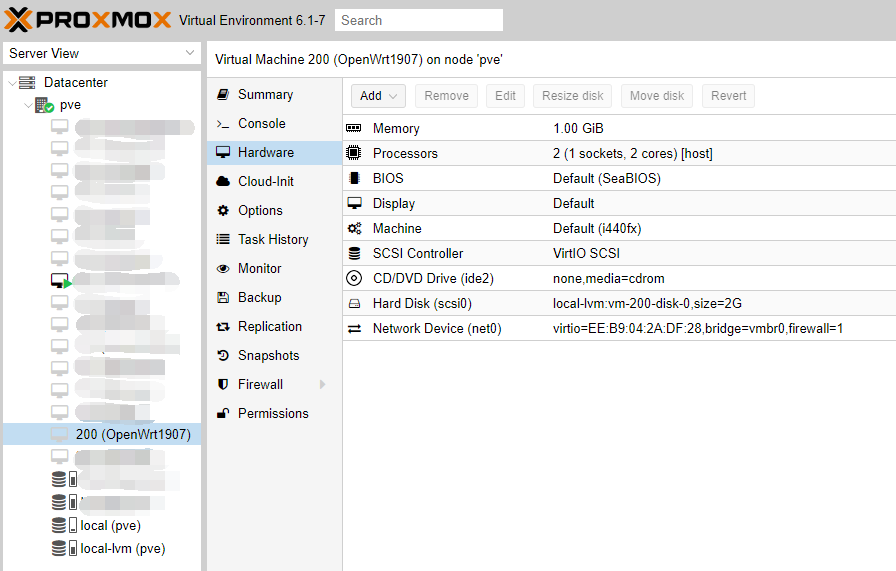
First, find the VM you just created and click “Hardware”
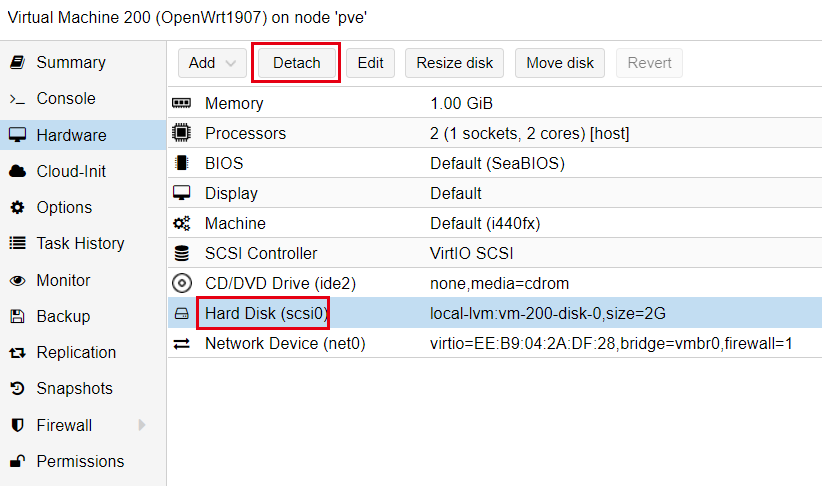
Select the “Hard Disk” then click “Detach”, then click Yes on the confirmation window.
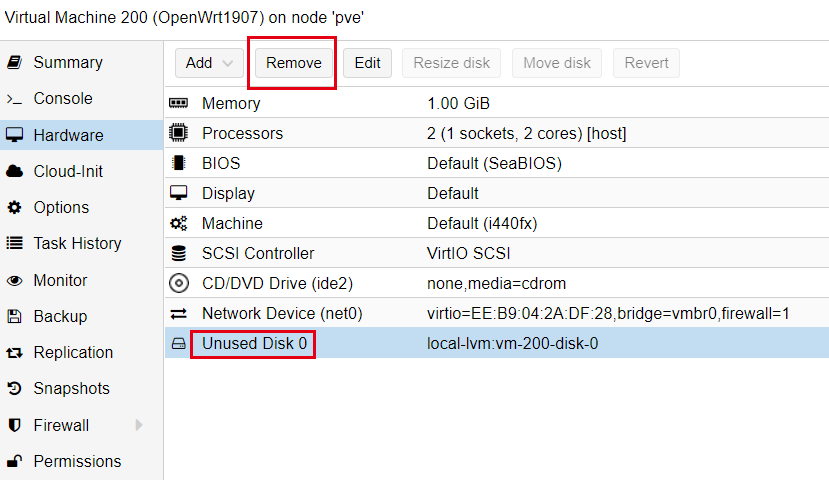
Select the “Unused Disk 0” and click “Remove” to remove this disk.
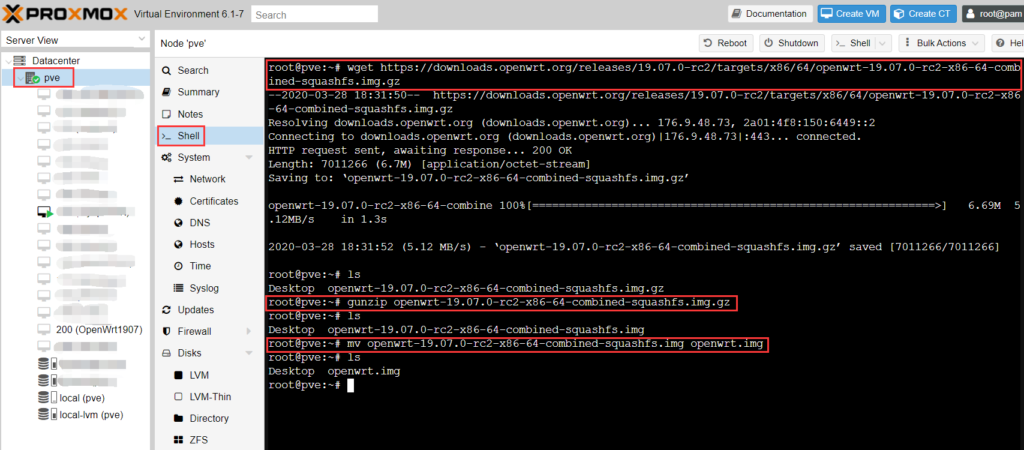
Now, let’s go the Shell of Proxmox and run the following command to download the OpenWrt firmware.
wget https://downloads.openwrt.org/releases/19.07.0-rc2/targets/x86/64/openwrt-19.07.0-rc2-x86-64-combined-squashfs.img.gz
After download finished, use the following command to unzip it to IMG file.
gunzip openwrt-19.07.0-rc2-x86-64-combined-squashfs.img.gz
Then rename it to a shorter name to make it easier to type in.
mv openwrt-19.07.0-rc2-x86-64-combined-squashfs.img openwrt.img
You can also download the OpenWrt file locally, then unzip it to IMG file, rename and upload it to the Proxmox server by using WinSCP or MobaXterm.
Here is the most important step, which is import IMG file into the VM. Type in the following command to shell. 200 is the VM ID, and openwrt.img is the file we just downloaded.
qm importdisk 200 openwrt.img local-lvm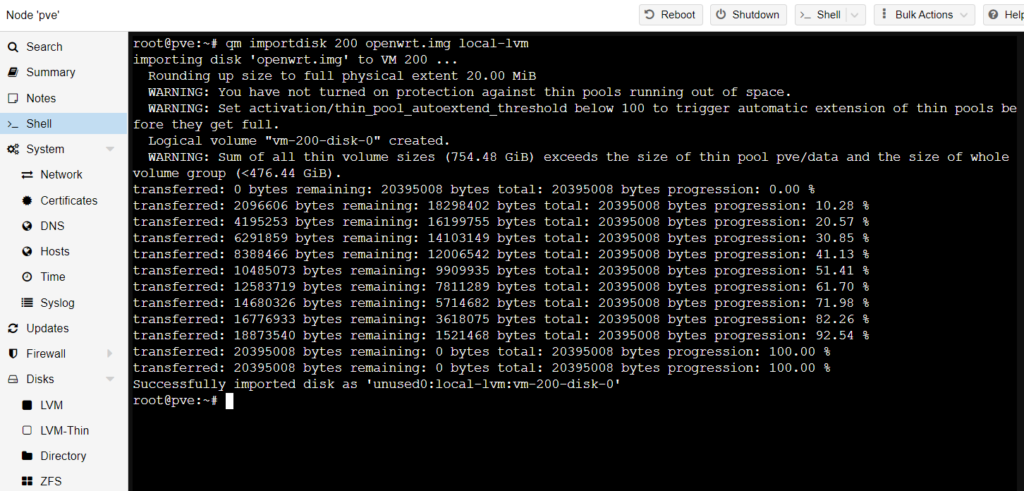
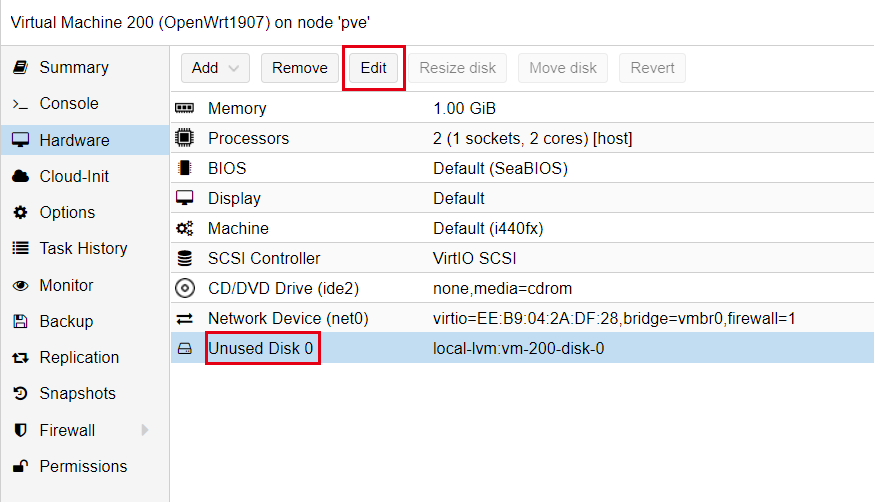
Go back to the OpenWrt VM hardware page, you will see there is an “Unused Disk 0”, check it and click “Edit”
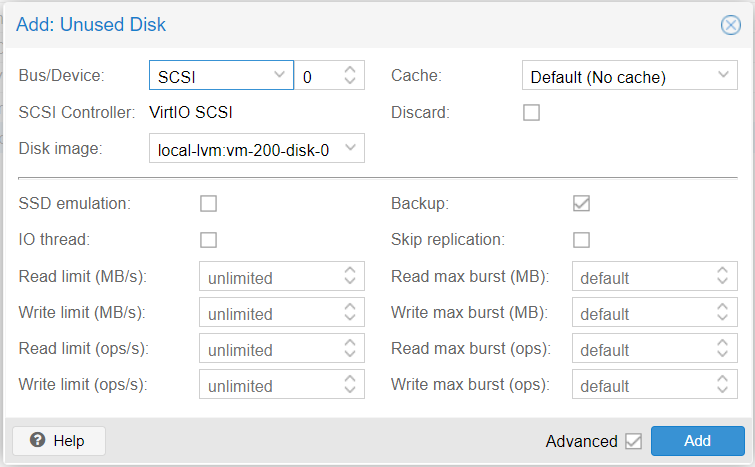
Change the Bus/Device to SCSI, then click “Add”
Now, you are ready to start your OpenWrt VM!
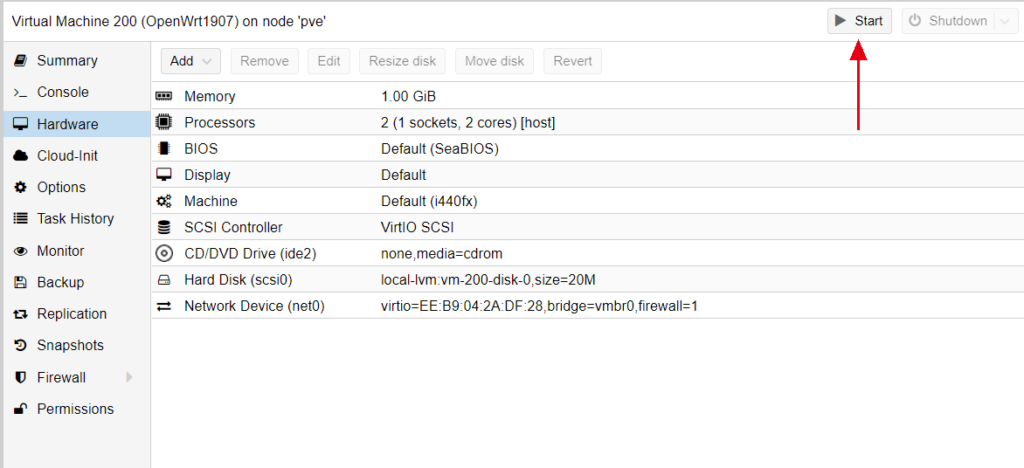
If you click the Console, and you are able to access the OpenWrt console.
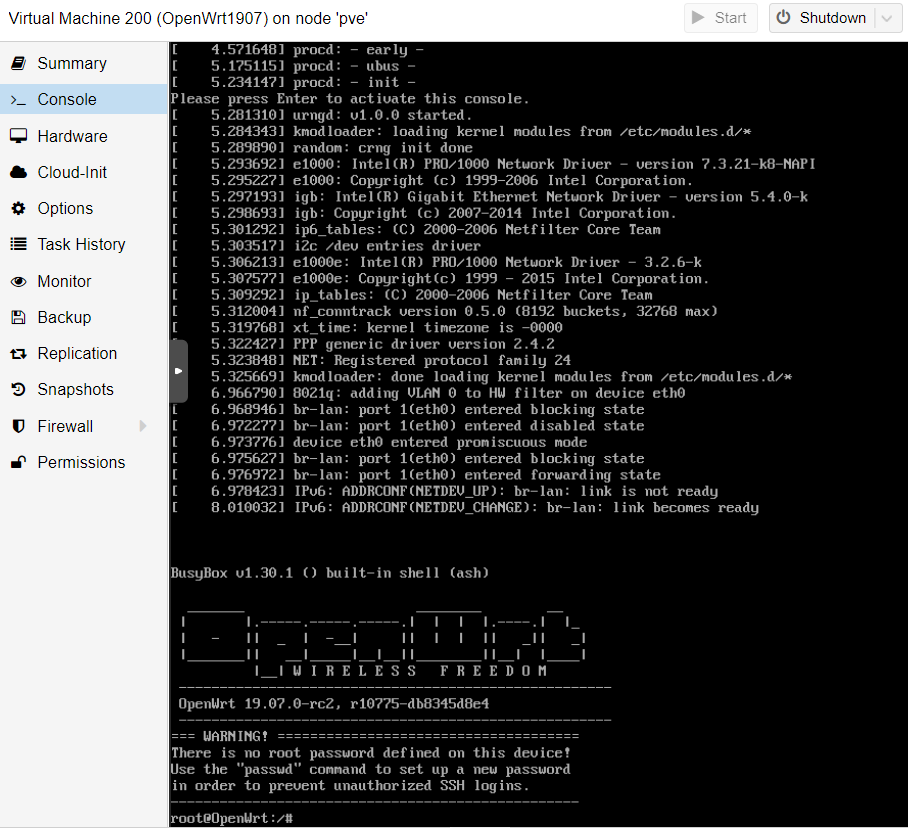
Congratulations! You successfully created a OpenWrt VM in Proxmox VE and the IP address should be 192.168.1.1, if you want to change the LAN IP address, use the following command. x.x.x.x is the IP address you want to access the web interface.
uci set network.lan.ipaddr='x.x.x.x'
uci commit network
/etc/init.d/network restart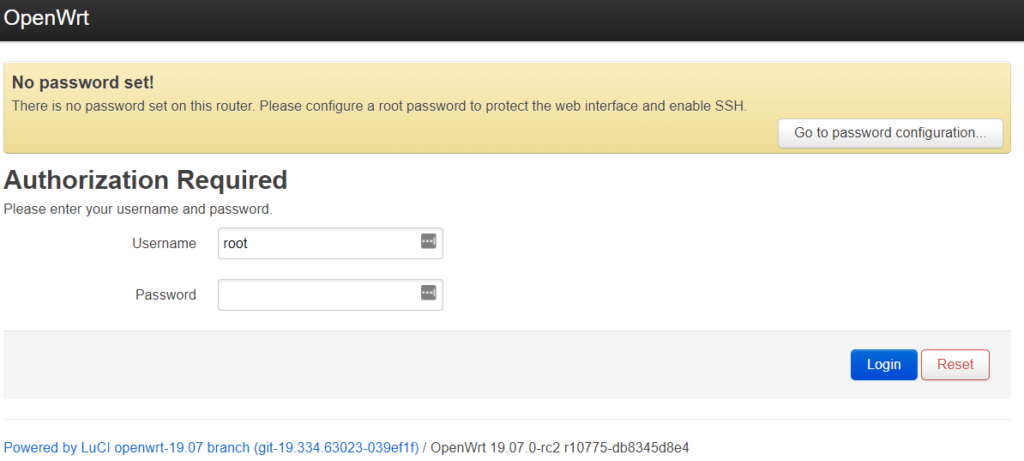
Welcome to the world of OpenWrt!